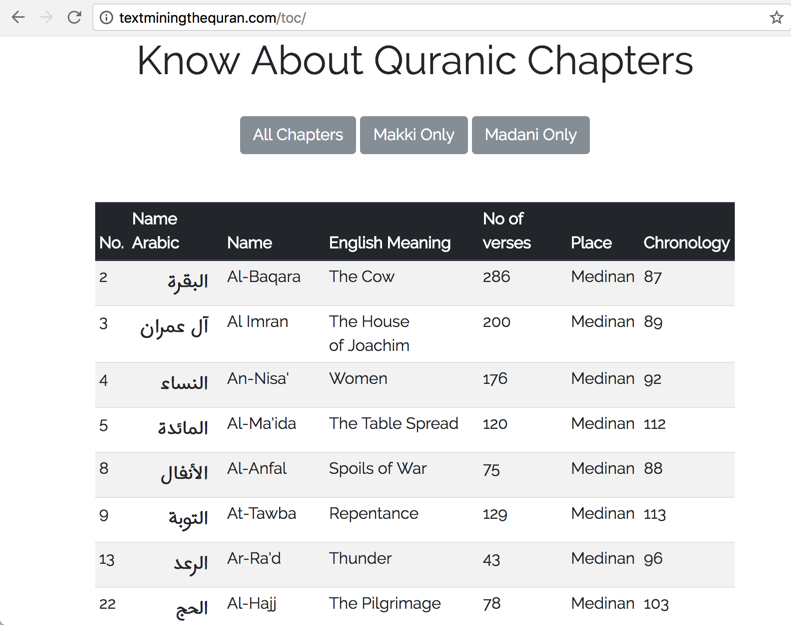
Here I am going to describe steps towards creating a simple angular 5 app. The app displays a table of contents of the Quran and allows to filter this table based on Makki or Madani surah by clicking on respective buttons. Try the app here.
So, let us get started.
Quranic Surah
Quran has 114 chapters or surah. Here is a wikipedia list of these chapters. I converted it into an excel file here.
I could have used Tableizer to convert this spreadsheet into an html table. But I will use Angular to do this later.
However, I used a nice converter to change cvs into json structure.
Installation and setup
Create a new project called table-style
ng new table-style
A folder is created called table-style. Our main playground will be the src folder. Its content is as follows.
baqi:table-style abaqi$ tree src/
src/
├── app
│   ├── app.component.css
│   ├── app.component.html
│   ├── app.component.spec.ts
│   ├── app.component.ts
│   └── app.module.ts
├── assets
├── environments
│   ├── environment.prod.ts
│   └── environment.ts
├── favicon.ico
├── index.html
├── main.ts
├── polyfills.ts
├── styles.css
├── test.ts
├── tsconfig.app.json
├── tsconfig.spec.json
└── typings.d.ts
Just for a fun, let me import Raleway font from google fonts, and also Harmattan for Arabic. First in the index.html use the font link.
index.html
<link href="https://fonts.googleapis.com/css?family=Raleway|Harmattan" rel="stylesheet">
and then in the styles.css file use the font.
styles.css
body {
    font-family: 'Raleway', sans-serif;
}
Also, some styling in the app.component.css file to render the Arabic font on the second column of the table.
table {
    width: 80%;
    margin: 0 auto;
}
td:nth-child(2) {
    font-family: 'Harmattan', sans-serif;
    font-size: 150%;
    text-align: right;
    padding-right: 15px;
}
I then placed the entire table of contents of the Quran into array of objects in the app.components.ts file:
 toc =
  [
    {
      "No.": 1,
      "Name Arabic": "الفاتحة",
      "Name": "Al-Fatiha",
      "English Meaning": "The Opening",
      "No of verses": 7,
      "Place": "Meccan",
      "Chronology": 5
    },
    {
      "No.": 2,
      "Name Arabic": "البقرة",
      "Name": "Al-Baqara",
      "English Meaning": "The Cow",
      "No of verses": 286,
      "Place": "Medinan",
      "Chronology": 87
    },
    //continue with other records
How to create table
Now that we have the data, let us see how angular can create the html tables.
<table class="table table-striped table-hover table-sm">
   <thead class="thead-dark">
   <tr>
    <th>No.</th>
    <th>Name Arabic</th>
    <th>Name</th>
    <th>English Meaning</th>
    <th>No of verses</th>
    <th>Place</th><
    th>Chronology</th>
   </tr>
   </thead>
     <tbody>
        <tr *ngFor="let row of toc">
        <td>{{row['No.']}}</td>
        <td>{{row['Name Arabic']}}</td>
        <td>{{row['Name']}}</td>
        <td>{{row['English Meaning']}}</td>
        <td>{{row['No of verses']}}</td>
        <td>{{row['Place']}}</td>
        <td>{{row['Chronology']}}</td>
        </tr>
     </tbody>
</table>
The key here is the *ngFor directive. It allows iterating over all elements of toc and creating a new html row with each iteration. Within double curly brackets ``we can display the individual cell.
Conditional Display
Now that we understood the usage of *ngFor, let us investigate *ngIf. It imposes a condition on any html element. So, in the code below, the table will appear only if the variable meccan is true. This variale is defined in the app component.
<table class="table table-striped table-hover table-sm" *ngIf="meccan">
 //omitted...
</table>
With this trick at hand, I can create buttons and associate events that set this value to true or false and hence dictate if that table should be created or not.
creating buttons
 <div class="text-center">
          <button type="button" class="btn btn-secondary" (click)="showAll()">All Chapters</button>
          <button type="button" class="btn btn-secondary" (click)="showMeccan()">Makki Only</button>
          <button type="button" class="btn btn-secondary" (click)="showMedinan()">Madani Only</button>
</div>
We associate click events to these button. Here are the event methods defined in the app component.
  all = true;
  meccan = false;
  medinan = false;

  showAll(){
    this.all = true;
    this.meccan = false;
    this.medinan = false;
  }

  showMeccan(){
    this.meccan = true;
    this.all = false;
    this.medinan = false;
  }

  showMedinan(){
    this.meccan = false;
    this.all = false;
    this.medinan = true;
  }
With such setup I can repeat three tables and impose conditional appearence for each table based on the type of surah either Meccan or Medinan. I am giving here the logic for Meccan surah, which you can repeat for the Medinan as well.
<table class="table table-striped table-hover table-sm" *ngIf="meccan">
 <thead class="thead-dark">
  <tr>
   <th>No.</th>
   <th>Name Arabic</th>
   <th>Name</th>
   <th>English Meaning</th>
   <th>No of verses</th>
   <th>Place</th>
   <th>Chronology</th>
  </tr>
</thead>
 <tbody>
    <ng-container *ngFor="let row of toc">
        <tr *ngIf="row['Place']=='Meccan'">
         <td>{{row['No.']}}</td>
         <td>{{row['Name Arabic']}}</td>
         <td>{{row['Name']}}</td>
         <td>{{row['English Meaning']}}</td>
         <td>{{row['No of verses']}}</td>
         <td>{{row['Place']}}</td>
         <td>{{row['Chronology']}}</td>
        </tr>
    </ng-container>

</tbody>
</table>
I had to use ng-container for the *ngFor directive and use the *ngIf="row['Place']==='Meccan' for each row creation, because you can not use two element creation directive on one item.
Deployment to s3 AWS
Use the following build command to create a distribution version of the app.
ng build --prod --aot --base-href="/toc/"
Then take the content of the /dist folder and place it in your desired folder in the s3 bucket. For me I created a folder called /toc in my bucket called textminingthequran.com. All, I have to do now is to sync my content (or copy this folder recursively to my s3) through awscli.
aws s3 sync . s3://textminingthequran.com --acl public-read
Congratulations, my app is ready now under at:
http://textminingthequran.com/toc/