Node.js is a backend javascript engine. Express is a lightweight web framework that sits on top of Nodejs. In this post, I am going to go build a RESTful app talking steps at a time. Down the road, I will use Semantic-UI as a CSS alternative to Bootstrap. I am going to use MongoDB as the database engine.
The App should allow users to enter name of a mosque, its image and a short description. The user can update and delete entered information later. So, let us get started!
Installation
I have a mac, and homebrew did everything for me. I assume you will manage with your own environment. Googling and little bit of patience will solve all problems. Stackoverflow community will be able to address your particular issues. Make sure that when type node -v you get a version number, which assures you that you are ready to go.
initialize npm
Create a directory mosques.
baqi:udemy abaqi$ mkdir mosques
baqi:udemy abaqi$ cd mosques
Now initialize npm. A wizard will take you through few options and result in a package.json file for you in the directory.
baqi:mosques abaqi$ npm init
This utility will walk you through creating a package.json file.
It only covers the most common items, and tries to guess sensible defaults.

See `npm help json` for definitive documentation on these fields
and exactly what they do.

Use `npm install <pkg> --save` afterwards to install a package and
save it as a dependency in the package.json file.

Press ^C at any time to quit.
name: (mosques)
version: (1.0.0)
description: a minimalist RESTful app about Mosques
entry point: (index.js) app.js
test command:
git repository:
keywords:
author: Baqi
license: (ISC)
About to write to /Users/abaqi/udemy/mosques/package.json:

{
  "name": "mosques",
  "version": "1.0.0",
  "description": "a minimalist RESTful app about Mosques",
  "main": "app.js",
  "scripts": {
    "test": "echo \"Error: no test specified\" && exit 1"
  },
  "author": "Baqi",
  "license": "ISC"
}


Is this ok? (yes)
baqi:mosques abaqi$
Now, install express:
npm i express --save
The --save above will append the express in the dependency list of the package.json file.
baqi:mosques abaqi$ cat package.json
{
  "name": "mosques",
  "version": "1.0.0",
  "description": "a minimalist RESTful app about Mosques",
  "main": "app.js",
  "scripts": {
    "test": "echo \"Error: no test specified\" && exit 1"
  },
  "author": "Baqi",
  "license": "ISC",
  "dependencies": {
    "express": "^4.16.2"
  }
}
app.js : the first version
The bare minimum is:
- get the express framework
- create a route
- make the app run on a port
Here is how it looks.
app.js
var express = require('express');
var app = express();

app.get('/', function(req,res){
	res.send('..just the first step in a 1000 mile journey..');
});

app.listen(3000,function(){
	console.log('server started on port 3000..');
})
And here is how to run it:
baqi:mosques abaqi$ node app.js
server started on port 3000..
Then go to your browser and open up: http://localhost:3000/.
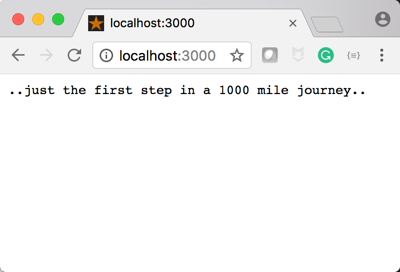 figure 1: First skeleton
You can always ctrl+c in the terminal to stop the app.
templates
Instead of getting result through res.send(), we want to use templates. To do that we need to create a folder called views and create the template file inside it. Let us call it index.ejs. Node files must have ejs extension. Inside it we will have normal html codes.
baqi:mosques abaqi$ mkdir views
baqi:mosques abaqi$ touch views/index.ejs
In order for express to serve templates we have to install ejs module from npm.
npm install ejs --save
Here is about first template.
index.ejs
<!DOCTYPE html>
<html>
<head>
	<title>Mosques around the World</title>
</head>
<body>
<h1>Houses of Allah</h1>

<p>This Site will list amazing photoes of mosques around the world. Stay tuned!</p>
</body>
</html>
Now, go to your app.js and change the ‘req.send(…)’ to req.render('index.ejs').
app.js
var express = require('express');
var app = express();

app.get('/', function(req,res){
	res.render('index.ejs');
});

app.listen(3000,function(){
	console.log('server started on port 3000..');
})
view engine
One small enhancement: over time you might get bored by typing ejs file extension every time in the req.render function.
All you need is to insert app.set('view engine', 'ejs'); in your app.js file, and then get rid of .ejs every time. Here is the updated app.js
app.js
var express = require('express');
var app = express();

app.set('view engine', 'ejs');

app.get('/', function(req,res){
	res.render('index');
});

app.listen(3000,function(){
	console.log('server started on port 3000..');
})
Now, go and restart the app. (that means first ctrl+c to stop the app if running, then run again through node app.js). Here is the shape of our app so far.
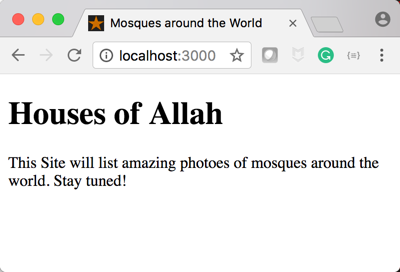 figure 2: incorporating ejs templates
RESTful routes
It is good practice to follow the following routing convention.
| URL | HTTP Verb | Action |
|---|---|---|
| /mosques/ | GET | index |
| /mosques/new | GET | new |
| /mosques | POST | create |
| /mosques/:id | GET | show |
| /mosques/:id/edit | GET | edit |
| /mosques/:id | PATCH/PUT | update |
| /mosques/:id | DELETE | destroy |
Let us pick the first route, i.e., /mosques. It means when I point to this url, it should render the index.ejs templates we just have created. and when user visits the / path it should redirect me to the /mosques path.
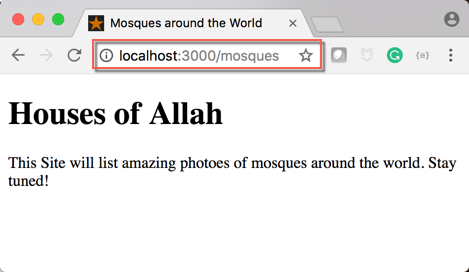 figure 3: the /mosques route
app.get('/', function(req,res){
	res.redirect('/mosques');
});

app.get('/mosques', function(req,res){
	res.render('index');
});
Next, the /mosques/new route should lead me to a template (which is not yet created) called new.ejs, and so on, I should have show.ejs and edit.ejs for the routes /mosques/:id and /mosques/:id/edit respectively.
app.get('/mosques/new', function(req,res){
	res.render('new');
});

app.get('/mosques/:id', function(req,res){
	res.render('show', {id:req.params.id});
});

app.get('/mosques/:id/edit', function(req,res){
	res.render('edit',{id:req.params.id});
});
The html verb that are not get will not have their own template, and will spend more time with them later.
Here are rendering of these files in the browser with just a placeholders for the time being.
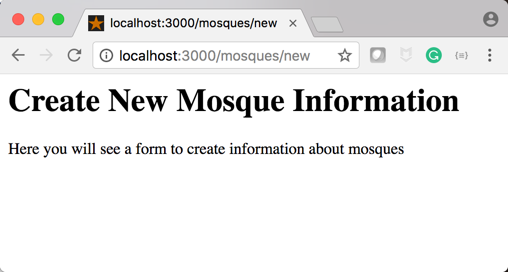 figure 4: the /mosques/new route
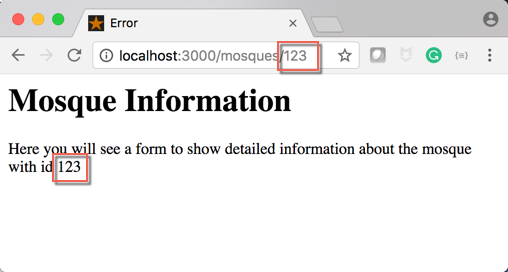 figure 5: the /mosques/:id show route
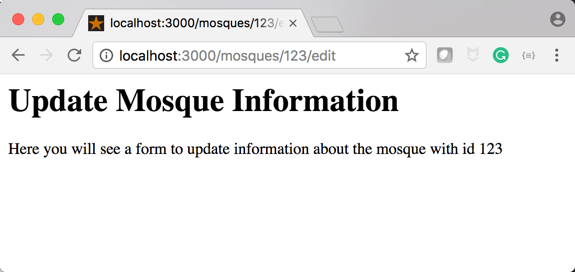 figure 6: the /mosques/:id/edit route
Mystery of :id
: allows us to pass parameters within the requested url. Each mosque will have an id in our future mongoDB database. So, when we visit the url /mosques/123endb34nd, our app will show detailed information about the mosque which has id of 123endb34nd.
The way to grab that id from url is through req.params.id as we will see later.
Here is the show.ejs file and note how I am grabbing the id in the template using the ejs way <%=id%>.
show.ejs
<h1>Mosque Information</h1>

<p> Here you will see a form to show detailed
information about the mosque with id <%=id%>
</p>
Partials
The various ejs files entails us to have partials of header and footer, where we can move common stuff there and have our ejs files just include them. In this way we save much time and have less pain when modifying things.
Here are the header.ejs and footer.ejs files saved inside views/partials folder.
baqi:mosques abaqi$ mkdir views/partials
baqi:mosques abaqi$ touch views/partials/header.ejs
baqi:mosques abaqi$ touch views/partials/footer.ejs
header.ejs
<!DOCTYPE html>
<html>
<head>
	<title>Mosques around the World</title>
</head>
<body>
footer.ejs
Copyright 2017
</body>
</html>
All we need is to include these files in our rest of the files. Here is an example from index.ejs
index.ejs
<% include ./partials/header %>
<h1>Houses of Allah</h1>

<p>This Site will list amazing photoes of mosques around the world. Stay tuned!</p>

<% include ./partials/footer %>
Semantic-UI
Let us give some sleek look to our site by using Semantic-UI. We will include the following cdn in our header.ejs file.
https://cdnjs.cloudflare.com/ajax/libs/semantic-ui/2.2.13/semantic.min.css
I am adding a simple navigation in the header.
header.ejs
<!DOCTYPE html>
<html>
<head>
	<title>Mosques around the World</title>
	<link rel="stylesheet" type="text/css" href="https://cdnjs.cloudflare.com/ajax/libs/semantic-ui/2.2.13/semantic.min.css">
</head>
<body>
     <div class="ui fixed inverted menu">
         <div class="ui container">
             <div class="header item">
                 <i class="large world icon"></i>Mosques
             </div>
             <a href="/" class="item">Home</a>
             <a href="/mosques/new" class="item">New Mosque</a>
         </div>
     </div>
Here is how it looks.
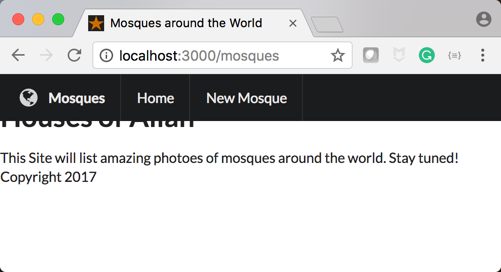 figure 7: we need to fix the problem of margin
The text need to move a bit below. That means we need to increase the margin to container class. This need to be done through custom css. To do that, we us adopt good practice and create a folder /public/stylesheets and place app.css file inside it.
baqi:mosques abaqi$ mkdir public
baqi:mosques abaqi$ mkdir public/stylesheets
baqi:mosques abaqi$ touch public/stylesheets/app.css
And then introduce the margin in the css file.
app.css
.container.main{
    margin-top: 7.0em;
}
In order for this to work, we need to do two things:
1.incorporate this file in the header.ejs file
<link rel="stylesheet" type="text/css" href="/stylesheets/app.css">
2.make the app use the public directory as our static asset folder.
app.use(express.static('public'));
Now we have a better page.
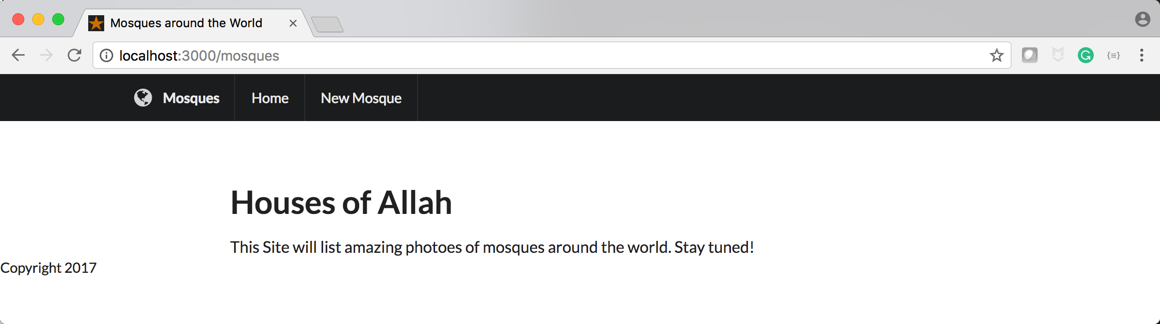 figure 8: custom css
MongoDB
After building the skeleton, let us start including our mongoDB stuff. I assume you installed it in your environment. Make sure the deamon is running and that when you type mongo in the terminal you end us in the mongo console.
Once installed, you need to install mongoose for express.
baqi:mosques abaqi$ npm install mongoose --save
Then make app.js have it.
var express = require('express');
var app = express();
var mongoose = require('mongoose');
mongoose.Promise = global.Promise;

app.set('view engine', 'ejs');
app.use(express.static('public'));

mongoose.connect('mongodb://localhost/mosques_app', {useMongoClient: true});
//rest of the file
Next, we need to define the schema, and create a Mosque object in the app.js file. As you can see, my mosques will have a name, image url, location, a short description, when it was built, and when this mosque entered into the database (which is defaulted to the time of creation).
var mosqueSchema = new mongoose.Schema({
    name: String,
    image: String,
    location: String,
    description: String,
    established: String,
    created: {type: Date, default: Date.now}
});

var Mosque = mongoose.model("Mosque", mosqueSchema);
Just as a starter, let us create the first two mosques.
Mosque.create({
	name: "Zaid Mosque",
    image: "https://source.unsplash.com/ERLAcTp-8MQ",
    location: "Abd Dhabi, Emirates",
    description: "The Grand Mosque was constructed between 1996 and 2007. It was designed by Syrian architect Yousef Abdelky",
    established: "2007",
});

Mosque.create({
	name: "Medina Mosque",
    image: "https://source.unsplash.com/jQUB81i93po",
    location: "Medina, Saudi Arabia",
    description: "The most important mosoque after Makkah. Built by Prophet of Islam. It has beautiful greem dome on top of the grave of Prophet.",
    established: "580AD"
});
Let us make sure it was created. Log to mongo console and follow the commands: show dbs, use mosques_app, show collections, db.mosques.find().
baqi:mosques abaqi$ mongo
MongoDB shell version v3.4.10
connecting to: mongodb://127.0.0.1:27017
MongoDB server version: 3.4.10
...
...
> show dbs
admin        0.000GB
cat_app      0.000GB
demo         0.000GB
local        0.000GB
mosques_app  0.000GB
yelp_camp    0.000GB
> use mosques_app
switched to db mosques_app
> show collections
mosques
> db.mosques.find()
{
"_id" : ObjectId("5a3660fe7be2af6b2a734355"),
"name" : "Zaid Mosque",
"image" : "https://source.unsplash.com/ERLAcTp-8MQ",
"location" : "Abd Dhabi, Emirates",
"description" : "The Grand Mosque was constructed between 1996 and 2007. It was designed by Syrian architect Yousef Abdelky",
"established" : "2007",
"created" : ISODate("2017-12-17T12:20:14.401Z"),
"__v" : 0 }
{ "_id" : ObjectId("5a3751286b994671f09c363b"), "name" : "Medina Mosque", "image" : "https://source.unsplash.com/jQUB81i93po", "location" : "Medina, Saudi Arabia", "description" : "The most important mosoque after Makkah. Built by Prophet of Islam. It has beautiful greem dome on top of the grave of Prophet.", "established" : "580AD", "created" : ISODate("2017-12-18T05:24:56.578Z"), "__v" : 0 }
Show Route
Now let me revisit the /mosques show route and bring the data from mongo database. To do that we need to use Mosque.find method as follows.
app.get('/mosques', function(req,res){
	Mosque.find({}, function(err,mosques){
	if(err){
 	console.log('error:');
 	console.log(err);
 	} else {
 	res.render('index', {mosques: mosques});
 	}
	});
});
Let us present these two mosques in a nice format in the index.ejs utilizing semantic-UI features.
index.ejs
<% include ./partials/header %>
<div class="ui main text container">
    <div class="ui huge header">Mosques Around the World</div>
    <div class="ui top attached segment">
        <div class="ui divided items">
             <% mosques.forEach(function(mosque){%>
                <div class="item">
                    <div class="image">
                        <img src="<%=mosque.image%>">
                    </div>
                    <div class="content">
                        <a class="header" href="/mosques/<%=mosque._id%>"><%=mosque.name%></a>
                        <div class="meta">
                            <span><%=mosque.created.toDateString()%></span> | Established <span><%=mosque.established%></span>
                        </div>
                        <div class="description">
                            <p><%-mosque.description.substring(0,100)%>...</p>
                        </div>
                        <div class="extra">
                            <a class="ui floated basic violet button" href="/mosques/<%=mosque._id%>">Read More <i class="right chevron icon"></i></a>
                        </div>
                    </div>
                </div>
            <%});%>
        </div>
    </div>
</div>
<% include ./partials/footer %>
Few points to note: We are looping through the mosques data using forEach function in javascript. Since the description is long, we are using substring(0,100) to only include the first 100 characters. Note that <%- ... %> allows the text to apply any html tags within. Finally note that .toDateString() presents dates in a more readable format.
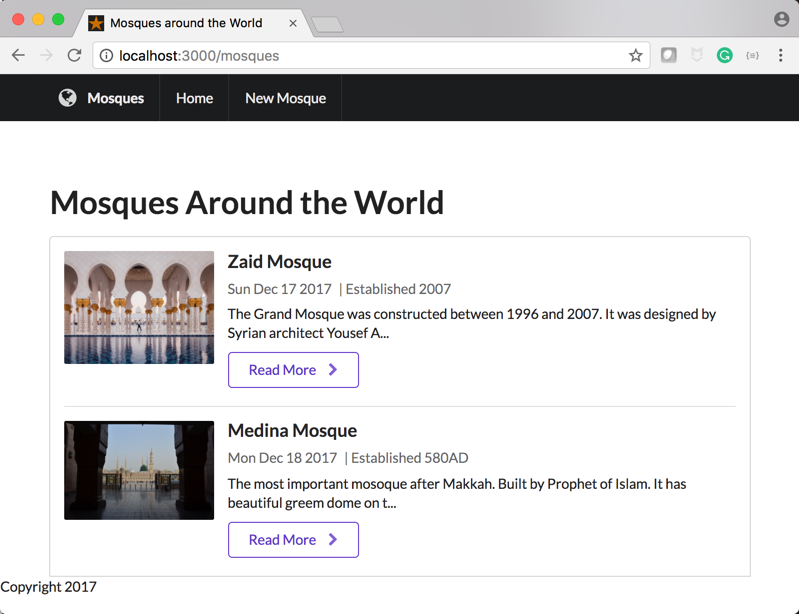 figure 9: Show page polished
Show detailed page route
Now we move to the /mosques/:id route, where we need to show full page of a particular mosque retrieved by its id in the mongo database.
Here is the code.
app.get('/mosques/:id', function(req,res){
	Mosque.findById(req.params.id, function(err,foundMosque){
		if(err)
			{console.log(err);
			    res.redirect('/mosques');
			}
		else {
			res.render('show', {mosque: foundMosque})
		}
	});
});
Note how we use Mosque.findById() and pass ID from the url. Here is how format our show.ejs file.
show.ejs
<% include ./partials/header %>
<div class="ui main text container segment">
    <div class="ui huge header"><%=mosque.name%></div>
    <div class="ui top attached">
        <div class="item">
            <img class="ui centered image rounded" src="<%=mosque.image%>">
            <div class="content">
                <div class="meta">
                            <span><%=mosque.created.toDateString()%></span> | Established <span><%=mosque.established%></span>
                        </div>
                <div class="description"><%-mosque.description%></div>
                <form id="delete" action="/mosques/<%=mosque._id%>?_method=DELETE" method="POST">
                    <button class="ui basic red button">Delete</button>
                </form>
                <a class="ui basic green button" href="/mosques/<%=mosque._id%>/edit">Edit</a>
            </div>
        </div>
    </div>
</div>
<% include ./partials/footer %>
We borrowed many styling arrangements from the previously seen index page. We have added buttons for edit and delete which we will talk about later. The important point is to see how to pass delete route in the form of a form which I will discuss in the next section.
<form id="delete" action="/mosques/<%=mosque._id%>?_method=DELETE" method="POST">
                    <button class="ui basic red button">Delete</button>
</form>
Here is our page:
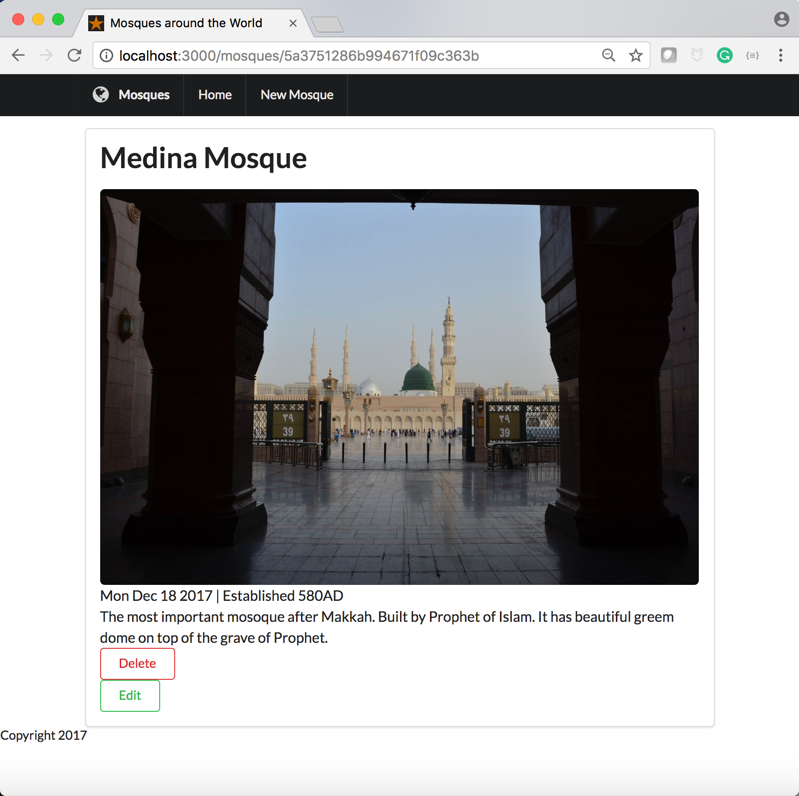 figure 10-a: Show detailed page- we have to align the two buttons
Note how the delete button is taking the entire line. In order to bring the edit button in the same line, we need to add the following css code to the delete button through its id #delete.
#delete {
    display: inline;
}
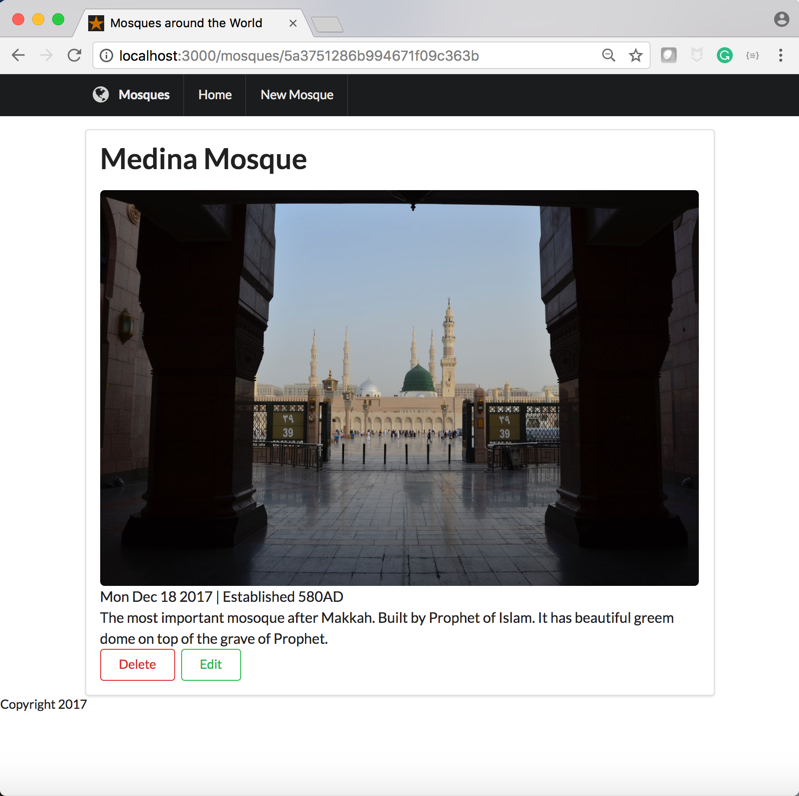 figure 10-b: Show detailed page - much better!
Ladies and gentlemen, here comes forms
With forms a new set of installations and configurations need to be done.
First we need to install body-parser to enable extracting data from form, also we need express-sanitizer to prevent inserting harmful codes through forms. Finally, we also need method-override to allow creating DELETE and PUT routes as we will see.
baqi:mosques abaqi$ npm install body-parser method-override express-sanitizer --save
Then we configure our app.js to use these packages.
var express = require('express');
var app = express();
var expressSanitizer = require('express-sanitizer');
var bodyParser = require('body-parser');
var mongoose = require('mongoose');
var methodOverride = require('method-override');

mongoose.Promise = global.Promise;

app.use(express.static('public'));
app.use(bodyParser.urlencoded({extended:true}));
app.set('view engine', 'ejs');
app.use(methodOverride('_method'));
app.use(expressSanitizer());
...
...
The Edit route (/mosques/:id/edit)
First we create the get route as follows.
app.get('/mosques/:id/edit', function(req,res){
    Mosque.findById(req.params.id, function(err,foundMosque){
		if(err)
			{console.log(err);
			    res.redirect('/mosques');
			}
		else {
			res.render('edit', {mosque: foundMosque});
		}
	});
});
Then, we go and create the edit.ejs page which will contain our form.
edit.ejs
<%include ./partials/header %>

<div class="ui main text container segment">
    <div class="ui huge header">Edit "<%=mosque.name%>"</div>
    <form class="ui form" action="/mosques/<%=mosque._id%>?_method=PUT" method="POST">
        <div class="field">
            <label>Name</label>
            <input type="text" name="mosque[name]" value="<%=mosque.name%>">
        </div>
        <div class="field">
            <label>Image</label>
            <input type="text" name="mosque[image]" value="<%=mosque.image%>">
        </div>
        <div class="field">
            <label>Image</label>
            <input type="text" name="mosque[established]" value="<%=mosque.established%>">
        </div>
        <div class="field">
            <label>Mosque Description</label>
            <textarea name="mosque[description]"><%=mosque.description%></textarea>
        </div>


    <input type="submit" class="ui violet basic button">
</form>
</div>
<%include ./partials/footer %>
Note how we passed PUT method through method overriding.
<form class="ui form" action="/mosques/<%=mosque._id%>?_method=PUT" method="POST">
Now, let us create the put route in our app.js file.
app.put('/mosques/:id', function(req,res){
    req.body.mosque.description=req.sanitize(req.body.mosque.description);
    Mosque.findByIdAndUpdate(req.params.id, req.body.mosque, function(err, updateMosque){
        if(err){
            res.redirect('/mosques');
        } else {
            res.redirect('/mosques/'+req.params.id);
        }
    });
});
Note how we sanitize the description field.
req.body.mosque.description=req.sanitize(req.body.mosque.description);
Also, note the update command in mongoose Mosque.findByIdAndUpdate(). At the end when update is done successfully we redirect to the detailed show page again. Here are the pages in action.
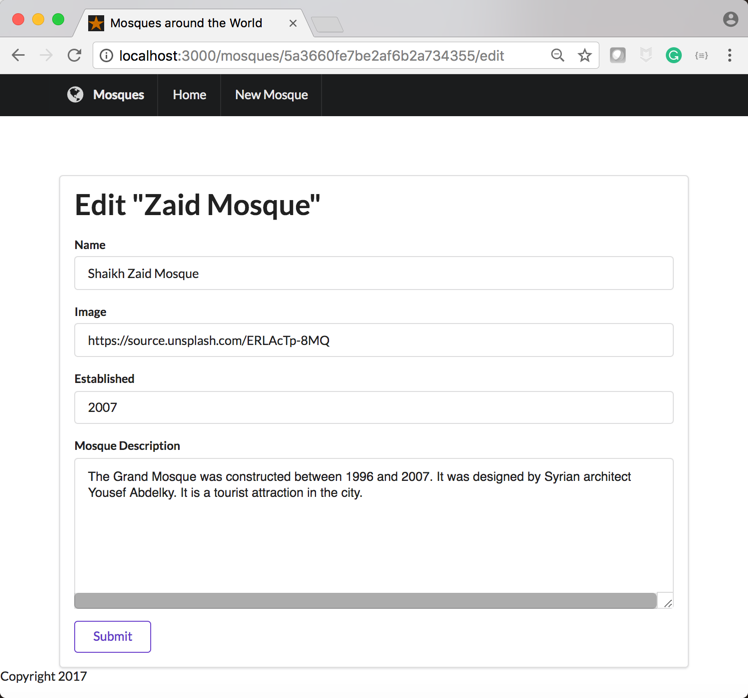 figure 11-a: Edit form
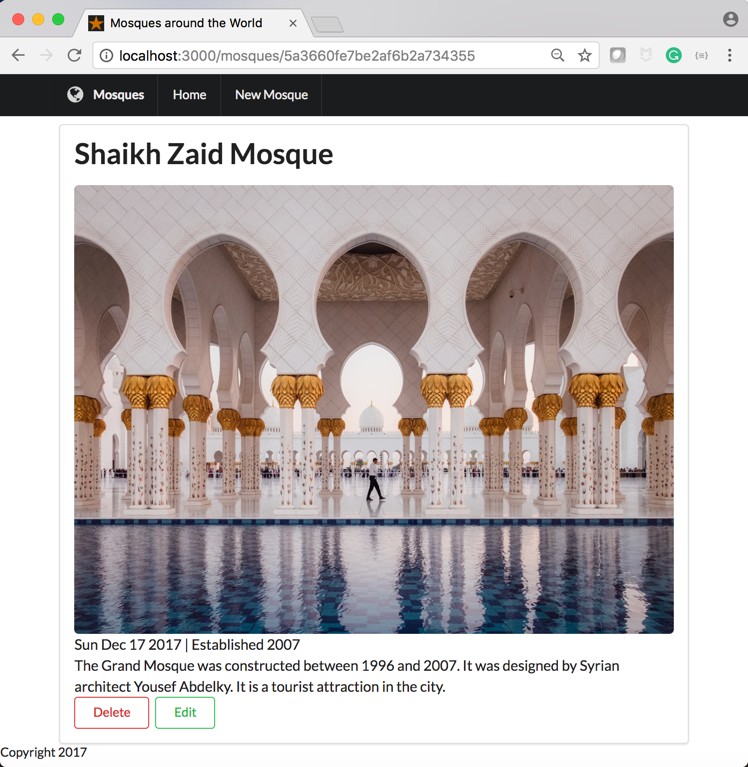 figure 11-b: After submitting the form we return to show page
New Route
Let us create a form to enter a new mosque reusing the same template we used previously for edit.
new.ejs
<% include ./partials/header %>
<div class="ui main text container segment">
    <div class="ui huge header">New Mosque</div>
    <form class="ui form" action="/mosques" method="POST">
        <div class="field">
            <label>Name</label>
            <input type="text" name=mosque[name]" placeholder="name">
        </div>
        <div class="field">
            <label>Image</label>
            <input type="text" name=mosque[image]" placeholder="image">
        </div>
        <div class="field">
            <label>Established Year</label>
            <input type="text" name=mosque[established]" placeholder="Established">
        </div>
        <div class="field">
            <label>Location</label>
            <input type="text" name=mosque[location]" placeholder="location">
        </div>
        <div class="field">
            <label>Mosque Description</label>
            <textarea name=mosque[description]" placeholder="your mosque description goes here"></textarea>
        </div>


    <input type="submit" class="ui violet basic button">
</form>
</div>
<% include ./partials/footer %>
In the app.js we need to include the post route as follows.
app.post("/mosques", function(req,res){
	req.body.mosque.description=req.sanitize(eq.body.mosque.description);

	// campgrounds.push(newCamp);
	Mosque.create(req.body.mosque, function(err,mosque){
	if (err){
		console.log('smth went wrong');
	} else {
		res.redirect('/mosques');
	}
	});
});
Here is the page view.
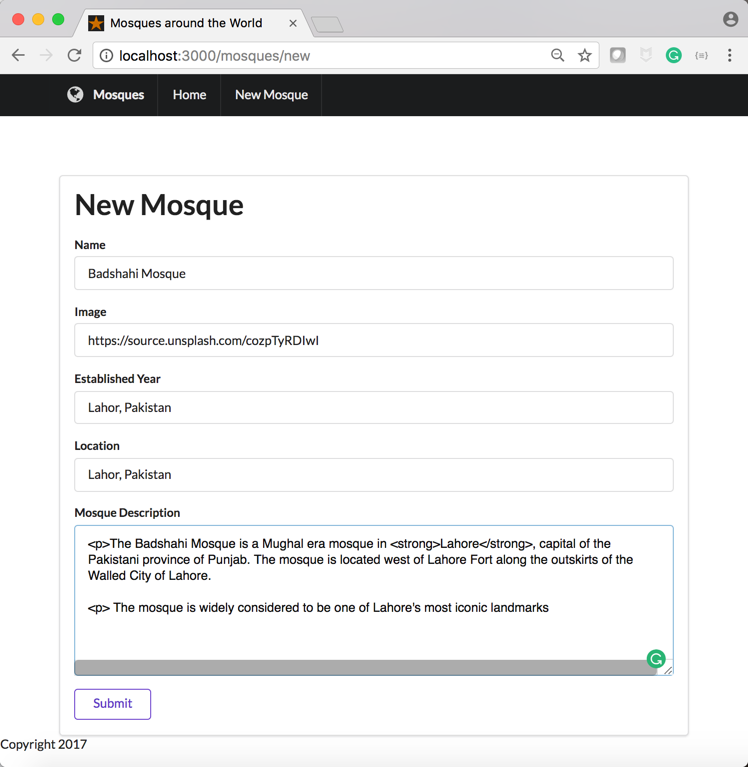 figure 12: create a new mosque (note I entered the established year wrong, no worries I can always edit and correct
Delete a mosque
We have seen in the show.ejs file how we incorporated the delete form as a button:
<form id="delete" action="/mosques/<%=mosque._id%>?_method=DELETE" method="POST">
                    <button class="ui basic red button">Delete</button>
                </form>
All we need is to include a delete route in our app.js as below.
app.delete('/mosques/:id', function(req,res){
    Mosque.findByIdAndRemove(req.params.id, function(err){
        if(err){
            res.redirect('/mosques');
        } else {
            res.redirect('/mosques');
        }
    })
});
Conclusion
In a later post, I have to include further enhancements like user authentication and deployment. For now I summarize the RESTful methods given in the table above but inserting another column on mongoDB methods.
| URL | HTTP Verb | Action | Mongoose Methods |
|---|---|---|---|
| /mosques/ | GET | index | Mosque.find() |
| /mosques/new | GET | new | N/A |
| /mosques | POST | create | Mosque.create() |
| /mosques/:id | GET | show | Mosque.findById() |
| /mosques/:id/edit | GET | edit | Mosque.findById() |
| /mosques/:id | PATCH/PUT | update | Mosque.findByIdAndUpdate() |
| /mosques/:id | DELETE | destroy | Mosque.findByIdAndRemove() |
Acknowledgment
I benefited a lot in learning NodeJS by following the Udemy Course on the subject offered by Colt Steele.